Monday, July 09, 2007

Green Space Mural


Last Friday a colleague and I ran a workshop with school children as part of a Green Fair. It was meant to educate the children from several different schools about sustainable buildings, quite a challenge when you only have 20mins per group. We got an artist to help us create a mural. Each student created their own artwork depicting something they could do to make their school or home better for the environment. Some even painted directly onto the canvas, others we took their individual work and pasted it onto the mural and then filled in the gaps in between. We cut out around the pictures to get rid of white space.

As a collaborative art project reinforcing existing knowledge it worked alright. It didn't teach them anything new though unfortunately. And it was impossible to make any links to the role of planning.

But it was nice to get my fingers dirty and do something other than stare at the computer screen.

Sunday, July 01, 2007

We felt groovy


This is a long overdue post of a felt making workshop that Fitzy K and I attended a few weeks back. It was at Virginia Farms at Annangrove, Sydney, a place where they run spinning, weaving, and felt making workshops throughout the year, and also sell unsprun, carded wool retail, with a small shop front or by mail order.

This particular workshop was on 'nuno felting'. Now last year when Fitz and I did our first feltmaking workshop on molded felt (ie seamless 3d constructions like bags and booties) we heard of the mysterious world of nuno felting, but actually misheard it and thought they were saying 'nano felting' which we assumed was because the processes of the fibre were all so small and not visible to the eye. Aaah. No. It's nuno.

Apparently, although this is hearsay and I stand to be corrected, the process of nuno felting is relatively recent - 'invented' as it were, at an Australian feltmaking convention back in the 90's. It involves attatching animal fibres (sheep wool, llama wool, alpacca, silk) to a finely woven fabric like silk chifffon or cotton gauze, and through the usual process of wetting and agitation of the fibres, allowing the fibres to fasten on to the underlying fabric, to 'felt' on, and therefore attach and make one textile.

It is used a lot for scarves and shawls, where patches of the underlying fabric are left exposed, and are sheer, and the felted area puckers and pulls the fabric around it, making some interesting textures. One of the benefits of this technique is that you have good structural strength supplied by the fabric underneath, and so don't have to apply such a thick layer of felt, you can do quite fine, flexible and subtle felting (yes, there is such a thing!).


This particular workshop introduced the technique of applying orbital sanders to agitate the wool fibres, simulating what you do by hand, but being much quicker. You appply the orbital sander directly to your wetted wool, and you (needless to say?) don't have sandpaper on it. Instead you attach a small swatch of rubber of some kind, like the 'rug gripper' rubber that is textured and soft and you can buy on the roll to go under large rugs. You apply the sander to one patch at a time, holding it still and not pressing down. You need to not use a sander which sucks in air to a bag though, as otherwise it will suck in water - not a good look to mix electricals and water. Otherwise it seems quite safe, the 'motor' bit of most orbital sanders is up in the handle region and the bit that touches the wet wool is inert (of course before trying at home, talk to your hardware puveyor, read the instructions, etc). Oh, and regardless, probably good to use a safety switch at the wall, just in case, we did in the workshop, the teacher was very strict about it.

The orbital sander works like magic, it does the prefelting process in a matter of seconds (as opposed to taking 10's of minutes by hand). At the end you still need to finish the felting processs by hand, by immersing in boiling water and cold water and by wringing it out and agitating teh fibres in all directions etc.

In one day of the 2 day workshop I was able to do quite a large piece, a scarf/shawl which is around 2.8 metres long and 50cm wide. I felted a soft mint/moss green onto same coloured fabric, and put busy scrolls and curlices down to contrast with the plain colours, leaving lots of fabric unfelted to show through. Fitz covered alll of her fabric, using multicoloured wool and putting swirls and lines on top, using the underlying cottton fabric for structural support, allowing for a thin, more even coverage.


The most obvious down side of using the sander for the process was probably the noise. I was still a bit seedy from earlier in the weekend and found that when there was mjore than one sander on in the room the mix of noises, along with people talking was a bit headache-inducing. I had to waer earmuffs and go out for breaks fairly regularly just to get some quiet. Also you can feel it in your hands after a while, and my memory of OHS studies reminds me that people who do a lot of jackhammering or drilling can get 'white finger', I suspect that wont happen in just doing a small piece, but if doing a lot of 'sanding' breaks are probably good for your circulation too.

Oh, and I suppose I also felt a bit like it was cheating, using a power tool to make something by hand, when felting is otherwise such a gently, hands on, tactile experience. I guess it just depends on your particular ratio of desire to engage in process vs need for output vs time available vs excitement at making finished things. And i suppose people use electric sewing machines, electric drills and saws etc alll teh time, so lots of things made by hand are helped by machines. Up to you realy, and definitely worth having both techniques up your sleeve if you want to enter the world of feltmaking :)

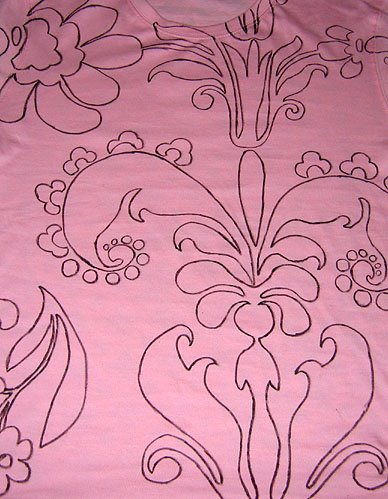
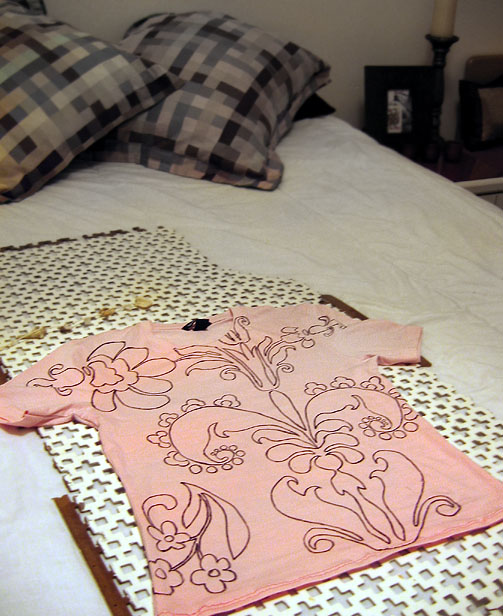
[Photos: First photo is Fitz's piece dry, before felting. Great colours huh?
Second photo is dry wool layed down on the fabric ready to be wet and felted.
Third photo is close up of my scarf after felting.
Fourth photo is looking down the felted scarf, still wet. When it dries the colours are much more similar.
Fifth photo is a close up of Fitz's scarf after felting.
Sixth and lucky last photo is looking down same scarf, and you can see a join, where she used a second piece of fabric to extend into a longer piece.]

Saturday, May 19, 2007

Abstract expressionism for infants

Entitled "Happy Mother's Day (Hiroshima Mon Amor)".

Artist: E-chan, 5th May, 2007 (aged 11 months)*
Acrylic on 5"x7" canvas; artist was aided in his choice of colours by an assistant.

*I promise we will not be bombarding this site with any more of his creations, but I thought this one was quite good!!

Sunday, May 13, 2007

fabric paintings


.. always sound very twee and crap, but I have had fun in recent past with painting with fabric paint and drawing with fabric pens on bits of old sheet and other frabric scraps. It gives a nice texture. Here are some on up my wall. Fabric paint has lots of solvents in it though, so you might want to do it near a nice open window. The tidy lines are done with fabric pens, which come with all sorts of nibs - including wider, calligraphy brush style, and shjort stumpy felt tip style. I have used diluted fabric paint (read - my brush washing water) to give some messy texture to the background and help with shading. Photocopies of pictures on fabric seem to work well too, because the texture gets amplified and it becomes quite grainy.
Monday, May 07, 2007

cheeky little monsters


So the first textile creations to come out as inspired by the stencil art course I did a few weeks ago at PineStreet Creative Arts (Sydney) were a series of monsters singlets and tshirts for bubbas. Some I have already given and others are waiting for special birthdays which are up and coming. I am very inspired to finish the range at least, because there is a wavy armed tree man, few more ghosties, and a spotty dinasaur dragon thing that need to come off the page and be printed at least once, and a few more colour themes to be explored. I enjoyed the aqua / purple / mauve type shades, and doing sets of three with different colours in the same theme. Standard fabric paint and hand made stencils from hand drawn images.
Sunday, April 08, 2007

SummerTime Wallet

I found a free pattern for this little summertime wallet here and thought I would give it a go. The best part was that I got to use up some old fabric scraps that i had lying around from previous projects. I made a few variations...like I didn't sew all the way up the middle seam so the back section could be used for notes and I used ribbon instead of elastic for the button loop. It all seemed to work out fine and Miss Vee was happy to receive it as a birthday present.

Saturday, March 17, 2007

Patchwork Coffee Table


I have been thinking about this for a year when I found some fantastic origami paper at Made in Japan in Melbourne. The paper was already cut into squares making it a lot easier to work with. My other half actually made the table quite a few years ago and when we recently cut the legs off to serve as a coffee table I wanted to jazz up the top so that it didn't need a tablecloth. We stuck the paper on with PVA and then we applied four coats of floor estapol over the top.

Thursday, February 15, 2007

Pictures for Cletus


Shhh don't tell mermaidgrrl but I made her little fella (as yet unborn) some teensy pictures for his wall. They were done on canvas covered board, in acrylics. They are the smal ones, about 15cm by 10cm, and a bit hard to photograph well due to reflections off the shininess of the paint and vthe wacky shadows cast by the kitchen lights. In case it's hard to tell, they are nominally, a giraffe, a ladybird and a crocodile. As follows:

Tuesday, January 30, 2007

Mrs Frugal's t-shirts


Mrs Frugal is part of my attempt to become financially savvy. A strict savings regime has left me with little spare money to spend on my wardrobe. A big hole in my wardrobe was just simple groovy t-shirts.
Rummaging through my suitcases of old clothes that I don’t wear in an attempt to find something I might wear again I found a few things that might serve well as motifs on a t-shirt. The t-shirts I attached them to were all around $10.

The aeroplane came from a hawaiian shirt. I cut it out and overlocked the edges before hemming them so that I had a reasonably straight rectangle to work with. I used a couple of rows of zig zag criss crossing each other to attach it while gently stretching the t shirt fabric as I sewed. It was a bit tricky putting non stretchy onto stretchy, but a few rows of zig zag seem to have sorted it out. I think it is important to stretch but not over stretch the stretchy fabric as you sew.

The black and white spiral thing was from another t-shirt that I really liked, but was just too short for me. As it was stretchy fabric no over-locking or hemming needed of the edges. It just went straight on, again with a few rows of zig zag. It was much easier.
The design on the brown singlet came from a old Miller shirt that I loved. I called them picture shirts, but I don't know their real name. After much time choosing the right bit to cut out I ironed on some interfacing in an attempt to stop it fraying. It has still frayed a bit, but seems to have stopped at just the right point of looking trendy. The interfacing made it a bit stiff, but I think it is better than fraying away to nothing.
Sewing non stretchy onto stretchy was a bit easier in this vertical shape as not much of the motif was going across to stretch. The 2 little buttons were Miss J's idea. They came from the Miller shirt and seem to set it off quite nicely.

For all t-shirts it was very important to have someone pin the motif in place while you have the t-shirt on as body parts can skew and shape things differently.

Saturday, November 11, 2006

twitchy fingers


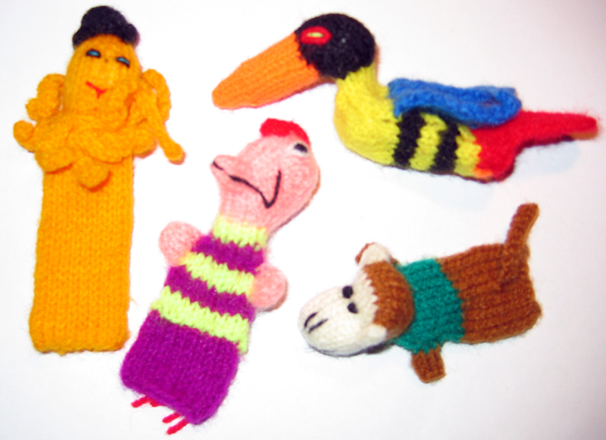
These are not a creation of mine, but have been hand made in Nepal. I found whole tubs of them at Spittalfields Markets in London and had to buy some for my niece. They are finger puppets and there were all sorts of characters...thought they were quite good to encourage interaction and imagination.

Thursday, November 02, 2006

Scarf by Miss J


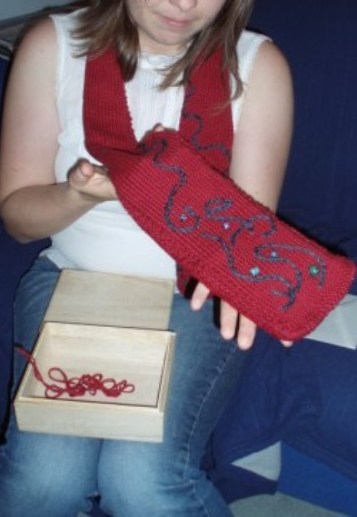
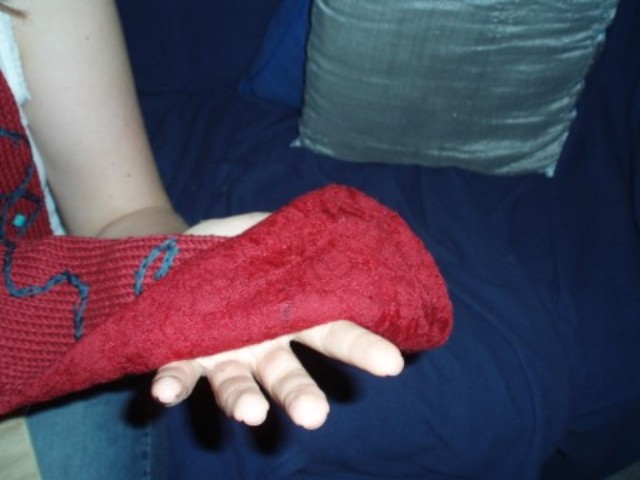
This birthday scarf was a labour of love by Miss J for Merry Risa. Its hand knitted, with beautiful free style beading on the front, and lined with crimson lace on the back. Behold, the tiny stitches and general neatness of the lining!

Friday, August 18, 2006

eating roasted corn

lo lo.
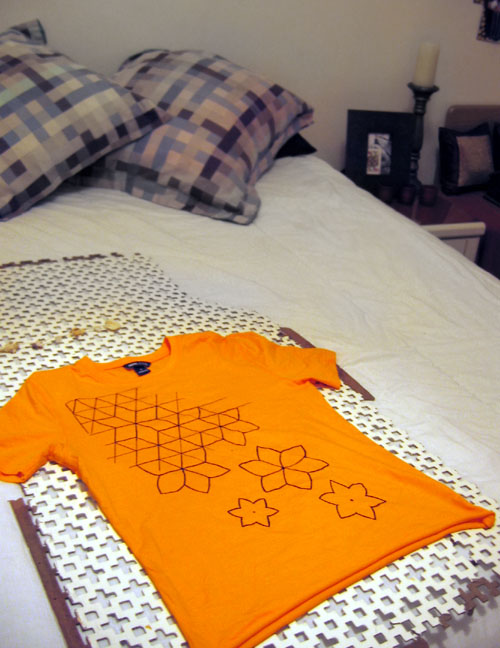
here are some I made earlier. T-shirts that is. Before I almost passed out from overexposure to statistics.

here's how to make 3 pound shirts not look 3 pounds:
1. take shirts home to australia to use mum's sewing machine.
2. use said sewing machine to take in the shirts along the sides and sleeves for that snug fitting look. (Tip 1: don't use pen to mark up seams as this will run and stain when the weather gets warm)
3. doodle some design when you are in transit from sydney to london. I also copied some gift wrap for another design.
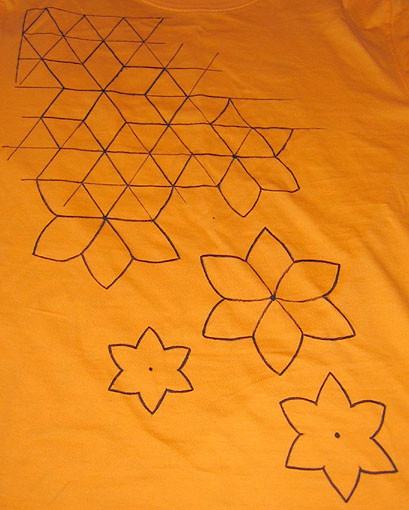
4. when arrived in london and over getlag get a fabric marker and draw straight onto the t-shirt, you can use a ruler if you like or just draw free-hand.
5. once ink is dry, wear and look fabulous and thank everyone for the compliments.

M

Thursday, August 17, 2006

Felt making a go go


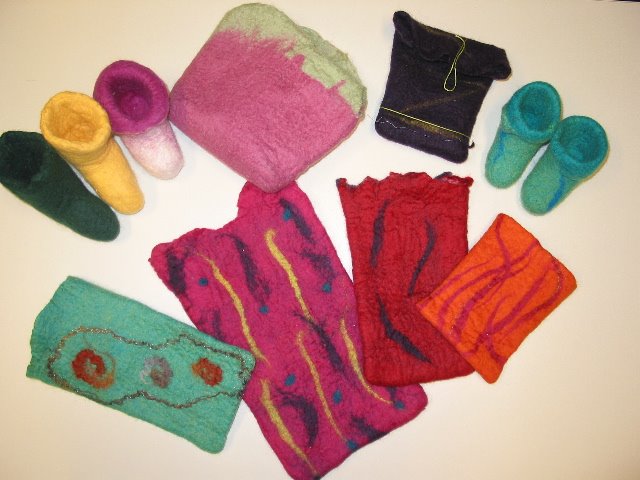
A felt making workshop held at work very excitingly resulted in the following beautiful things... Yah!
See also the work in progress.

Tuesday, June 27, 2006

Knit in for Timor

A local Blue Mountains group does ongoing fundraising to support programs in East Timor for women and children. The next event is a knit-in to make jumpers or blanket squares.

Why knit for a tropical country?? Hato Bulico, the region that the Blue Mountais has formed a relationship with, is high in the mountains at around 2,400m. And so like us, they get cold!

What if you can't knit? You can donate wool to Blue Mountains libraries or Council offices. Or you can send it to me and I will take it along to the knit-in. Yarn must be at least 8 ply, and at least 60% wool.

When? Saturday 30th July 11am-3pm
Where? Carrington Hotel Ballroom, Katoomba (the big old glamorous white hotel on the main street right near the train station)

Bring your own needles and wool. Bring some money for a pot of tea or a glass of bubbly. It should be a great afternoon!

Saturday, May 20, 2006

Sewing Jag


Not sure if this counts as crafty but....
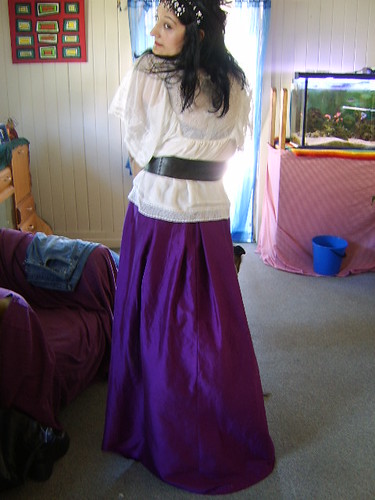
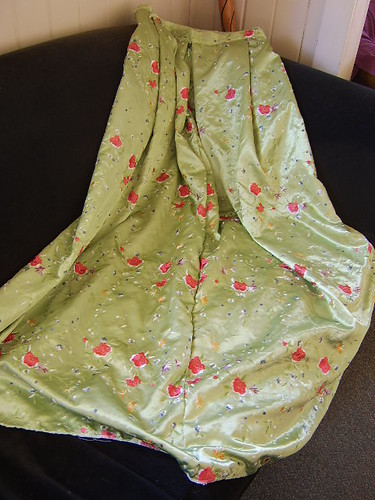
I made this skirt for my neighbour to wear to a wedding. It's dupion silk that I found for $10 a metre at the new Spotlight near us. It even has a train! She couldn't find anything that she liked in the shops that suited her personality, so we ended up going for a Victoriana type of style with the outfit.

Underneath the skirt is a petticoat made of poplin with two tiers of recycled tulle from an old tutu to hold the back out.

She bought the blouse from Sp*rtsgirl, which surprised since I thought Sp*rtsgirl was daggy, but apparently is now considered quite groovy by the kids.


I liked the skirt so much I made another one for myself out of embroidered satin. Who knows where the hell I'll wear it, but I'll find something! I'm even hand stitching the hem. My mother would be so proud! The colour is nicer than it looks in the photo and it looks kind of Spanish.


My next plan is to sew my own bras. They're a total rip off and I'd rather pay the money for the book about how to make them myself and have nursing bras made out of hot pink sequined lace with marabou trim than fork out 100s of dollars for beige nanna brassieres. If one is going to have cracked nipples, then they should at least be wrapped up in something glamorous to take the sting out of it.

Monday, May 01, 2006

Book plates & quilty squares


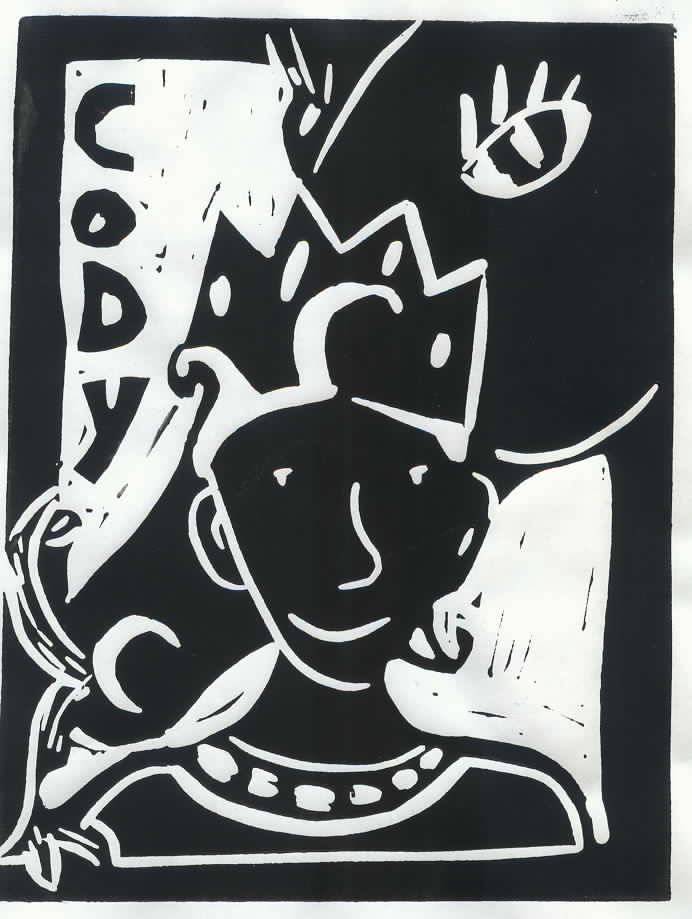
Made some bookplates for a little fella in my life. Stuck them in some birthday books. Here is one, the other one has a spotty alien reading a book - as you do!

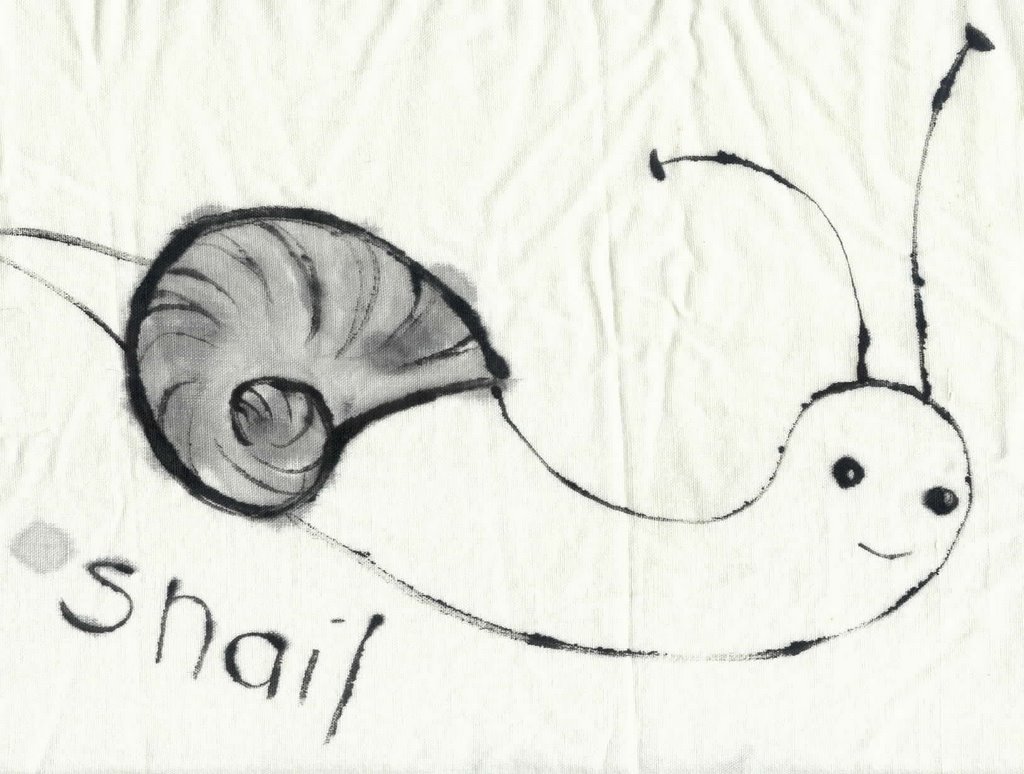
Also did a series of animals on squares of fabric for a quilt / wall hanging. Here is one of the test pieces that I kept for myself.

Monday, February 06, 2006

get ready to knit...


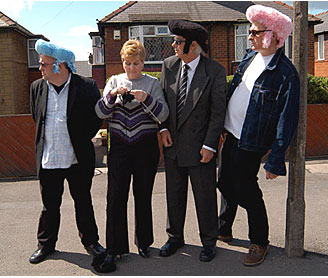
"the hand knitted Elvis wig pattern is here and FREE.
Brainchild of artist and Shed head Simon Thackray, the
knitted Elvis wig was specially designed by Sirdar to
coincide with the world's first North Yorkshire Elvis
Bus Tour."
see the site.


if you don't know how to knit & want to learn see UK Knitting
where you can also find accounts of the health benefits of knitting (& other handi-crafts)

&/or find your local 'stitch'n'bitch' group

There will also be a swap!knit!darn! workshop as a
part of ChangeX'06 in March which will be at Pine st.
gallery this year- this session is a bit of fun for
people with and without handi-craft skill; for more
info reply to me, or keep checking here
- there should be something up soon.

[Text C/O nita]

Wednesday, February 01, 2006

Making Nappies

I know this is somewhat premature, but we are definitely going to use cloth nappies for our bub so I've been sewing some in anticipation! A newborn needs at least 2 dozen nappies, so I figure if I start now then I'll have plenty of time to get all the newborn and infant sizes done. I'm going to be making covers and pocket nappies too, but I've started with prefolds. This means that the nappy is sewed in a square with many layers of padding down the centre for extra absorbancy. Remember how when we were young all those nappies were white towelling? Well that's so 70's man - things are way cooler now. I bought several metres of 100% flannel in groovy colours from Spotlight for $2 a metre on sale, and five colours of microfleece (for wraps and pocket nappies and liners) for $60 in total. This should be enough to keep our baby in not only functional but also incredibly cool and groovy nappies for a year. Considering it would normally cost $100's - if not $1000's - for disposables for that time frame, plus the environmental impact this is a bargain people!


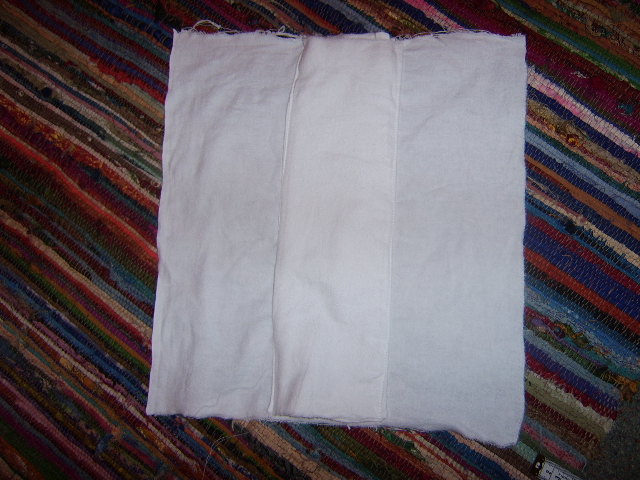
This is the inside of the nappy. The centre panel is 6 layers of flannel which is stitched onto a single layer of flannel before putting on the coloured flannel outside layers. My overlocker isn't working, so I sewed the whole lot inside out, turned it and top stitched with some fancy zig zag. When my overlocker is fixed I'll be able to just sandwich the layers and go around the outside which should take about 1/4 of the time. Although it didn't take me long - I made 4 entire nappies within 2 hours tonight and it was my first time.


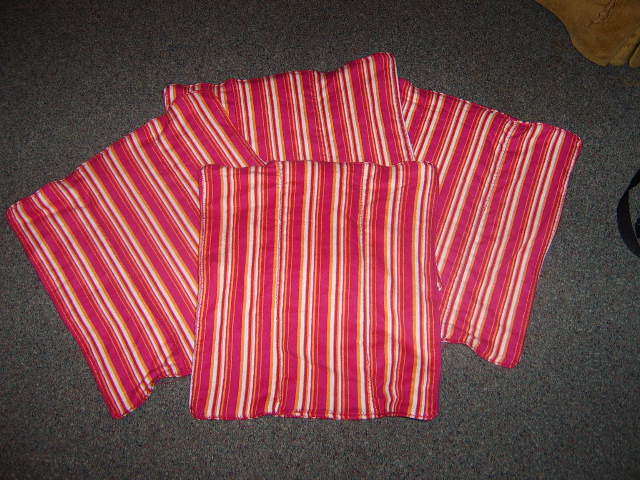
These are the four finished nappies. So groovy! These are newborn size and are teensy tiny. They have to be washed with detergent about 5 times in hot water before use to make them properly absorbant. I'm going to wait until I finish them all and do them all at once to save water.


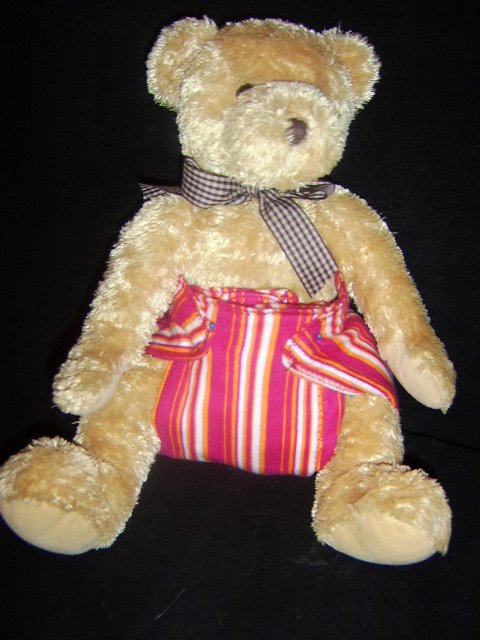
This is teddy modelling the finished result. I didn't have any nappy pins so I just used dressmaking pins to hold it on! Once baby has outgrown these I can use them as stuffing in pocket nappies, which are my next project. These are made of polar fleece in two layers, and inbetween the layers you stuff them with absorbant material. They have velcro or snap closures and elasticised legs, so they look like the disposables do in terms of "easy to apply" but great for babies skin and the environment. Here are some links about making cloth nappies and where they can be bought by WAHM's (work at home mums).

Bubba Earth is an Australian site that sells patterns and materials for making nappies.

Bits For Bots is run by a Queensland mum who makes all different kinds of nappies for sale. If you look at the fleece pocket nappies, they're what I'm going to make once I finish the prefolds. But with applique on the bum!

The Diaper Hyena is a great resource for using cloth nappies. Lots of links to free patterns and tutorials and good pictures showing how to use all the different combos of cloth nappies.

Darlings Downunder is another business site with some gorgeous nappies for sale. I think the rainbow colours on the Totbot fitted cloth nappies are divine and would make a great gift to someone using cloth.

Nappycino has great discussion boards for any questions and lots of sewing info on all the different styles.

I know this was kind of long-winded, but I'm very excited about cloth nappies! The general consensus amongst the public is that they're hard work and icky, when they're quite the opposite. The development of fabrics like microfibre and polar fleece means the babies skin stays 100% dry in cloth nappies and they so adaptable and cheap. I think it's sad that not a single woman that I work with uses cloth nappies, so I'll be making sure to take in all my sewing to show it off and inspire trying cloth instead of disposables.

Wednesday, January 25, 2006

Ugly Dolls

Now I didn't make this.... but I'm going to and that's what matters! It's become very fashionable in lesbo-land to make ugly dolls for the kiddlywinks. Perhaps a reaction to those trollopy Bratz whores? But instead of using commercially purchased felt which is horrid, gals and guys are going to their local op-shop, buying something made of pure wool and putting it on the hot wash to make quality recycled wool felt and then adding their own bits and pieces. Fabbo! Click on the pic for the website of the dude that's selling them, and go to the shop to see the full range for ideas. I know that we'll be banning crappy battery powered toys made in China for our kid, but will be heartily encouraging anything along these lines.

Sunday, January 22, 2006

flat-pack christmas tree

This was a household effort, so I can't take all the credit (if any is due!!). Perfect for those with limited storage space, hanging decorations but nowhere to hang them, and no kids who pester you for the "real thing".

Took some cardboard from our moving boxes, and drew a template that was as symmetrical as possible (we used rulers). We drew 6 "limbs" which started out as triangles of increasing size as you go down the tree, but with little up-tilts at the end of the branches to hang things on. Cut it out with a stanley knife and used it as a template for another one. Drew a line from the tip down the centre, and made an incision up from the exact middle on one, and down from the exact middle on the other. Painted it with green acrylic paint. Assemble simply by slotting one onto the other at right angles, and voila! A christmas tree that will store flat for next year when the 12 days of christmas are over! Why would you ever want a a real one?!!